
We’ve been so busy with vehicle wraps lately that we haven’t had a ton of time to play with our CNC router, but lately we’ve been able to dip our feet into the dimensional signage world a little more which has been a blast!
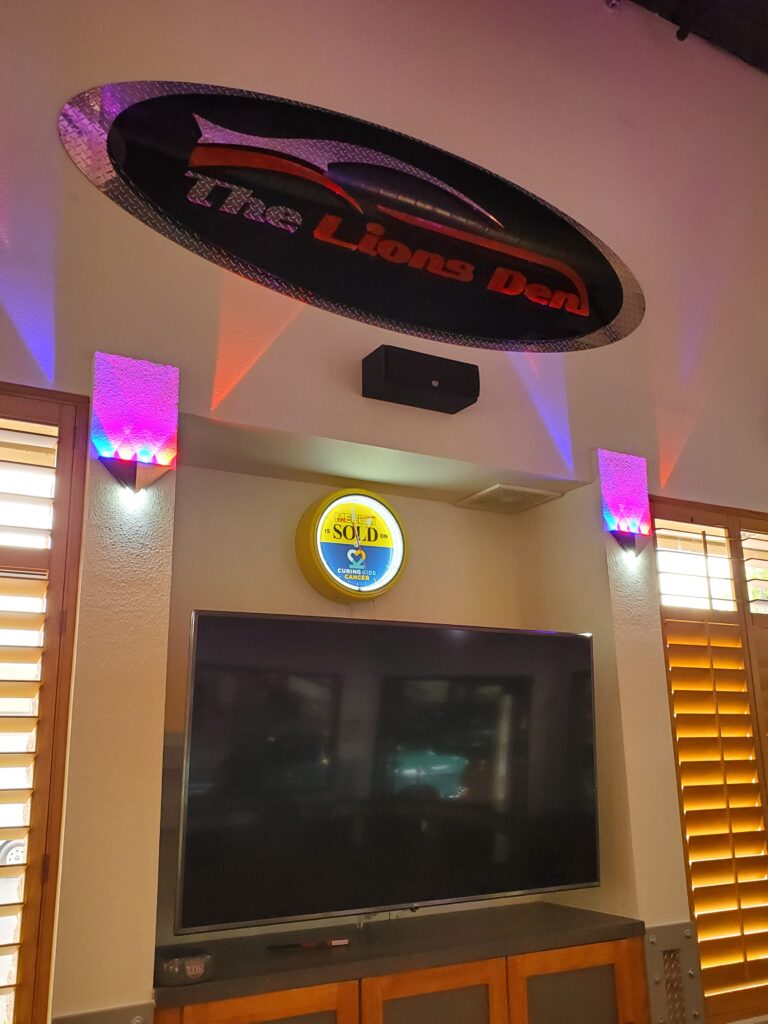
We installed two signs within the span of one week, the first being the Lions Den. The logo was already a 2-color deal (black and red) but also needed to incorporate some diamond plate (which was used as accents around the room). We settled on a 3 layer sign: diamond plate oval base, inset black acrylic oval, and red/diamond plate logo on top.
The diamond plate was sold in large sheets (we ordered a 4′ x 10′ piece, fitting nicely on our 5′ x 10′ router) but were a little surprised to find out how thing it was (think more like sheet metal!). In order to increase it’s sturdiness, we glued the diamond plate to a piece of composite substrate with contact cement prior to routing the first oval out. The rest of the standard acrylic pieces were routed without a hitch.
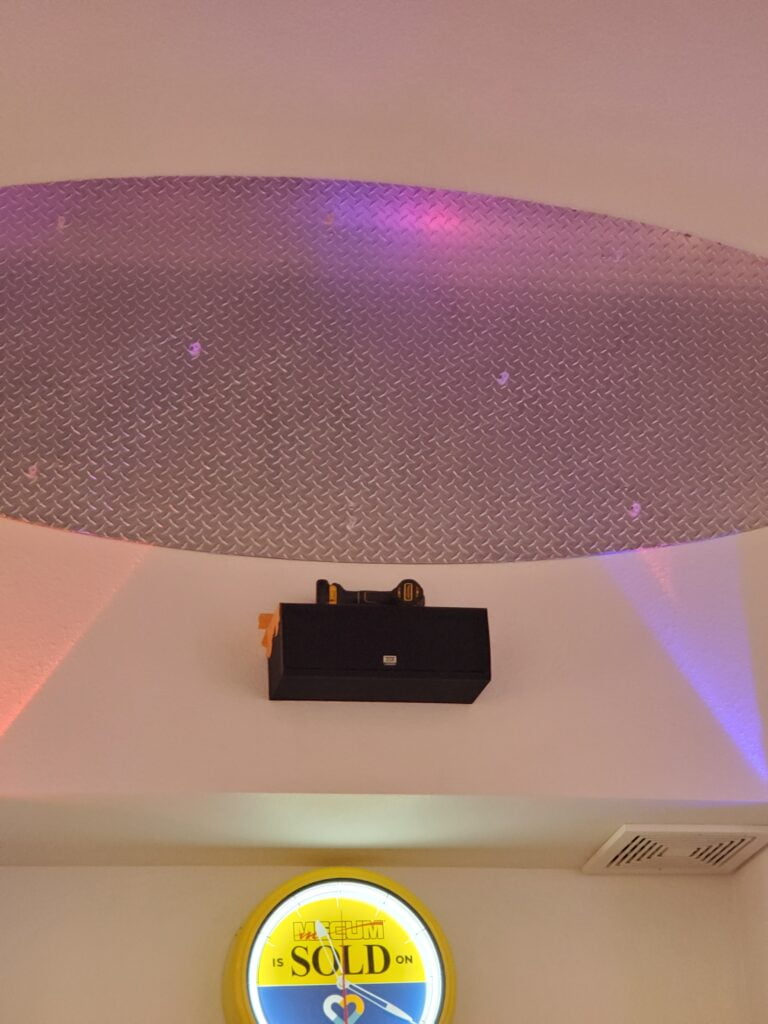
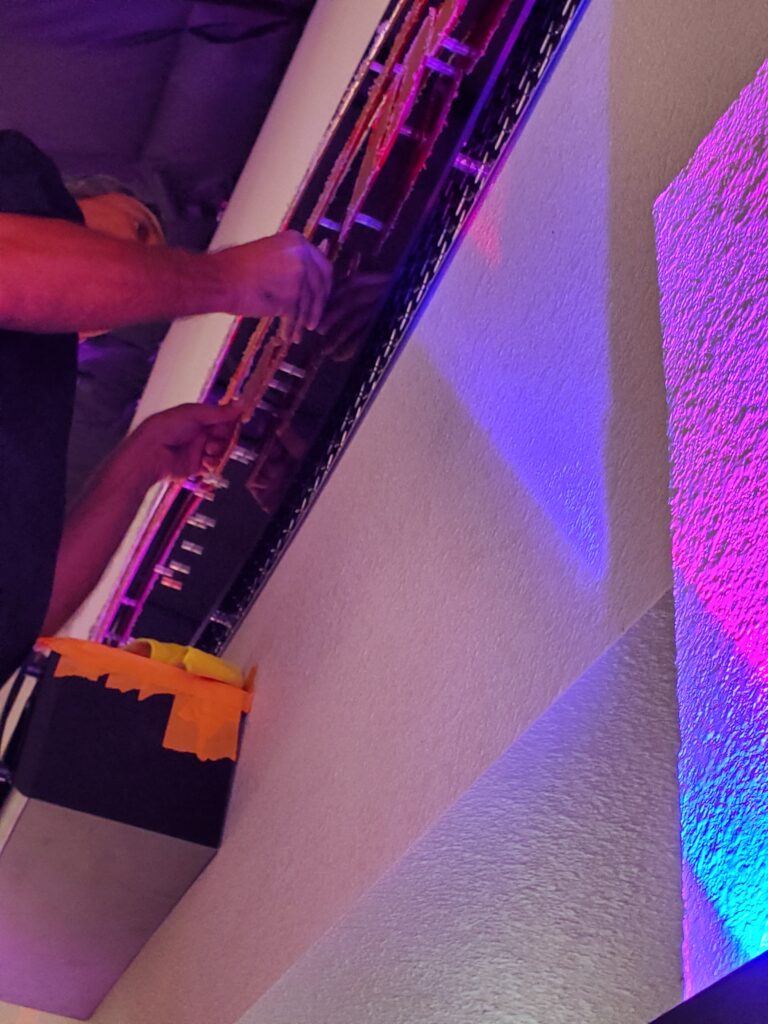
The diamond plate oval was mounted directly to the wall. We pre-drilled a series of holes all the way through the oval, half of which were used to mount directly to the wall with screws and anchors. The other half of the holes were used to mount part of the quick snap system. We ran screws through the back of the sign to secure clear plastic tubes to the front. The second layer of the sign (the black acrylic oval) has plastic buttons glued to the back, corresponding with each tube. When aligned, those buttons allow the second layer to quickly snap into place. Both the second oval and logo layers were affixed using the snaps!
We’ve done a few dimensional signs over the years (prior to having our own router we would contract the cutting portion out to some friends!) but the quick snap system has been somewhat of a game changer for us! Previously, each sign would be mounted one of a few different ways:1. Semi-permanently glued to the wall, making it difficult to remove without damage2. Would have visible screw heads3. Used french cleats, which DID hide the mounting system but was cumbersome on thinner signs
In this system, the mounts are completely hidden behind each piece and virtually invisible from the front.
A small tug disengages the snaps, and allows you to remove the sign and move it to a new location if needed (making it reusable!)
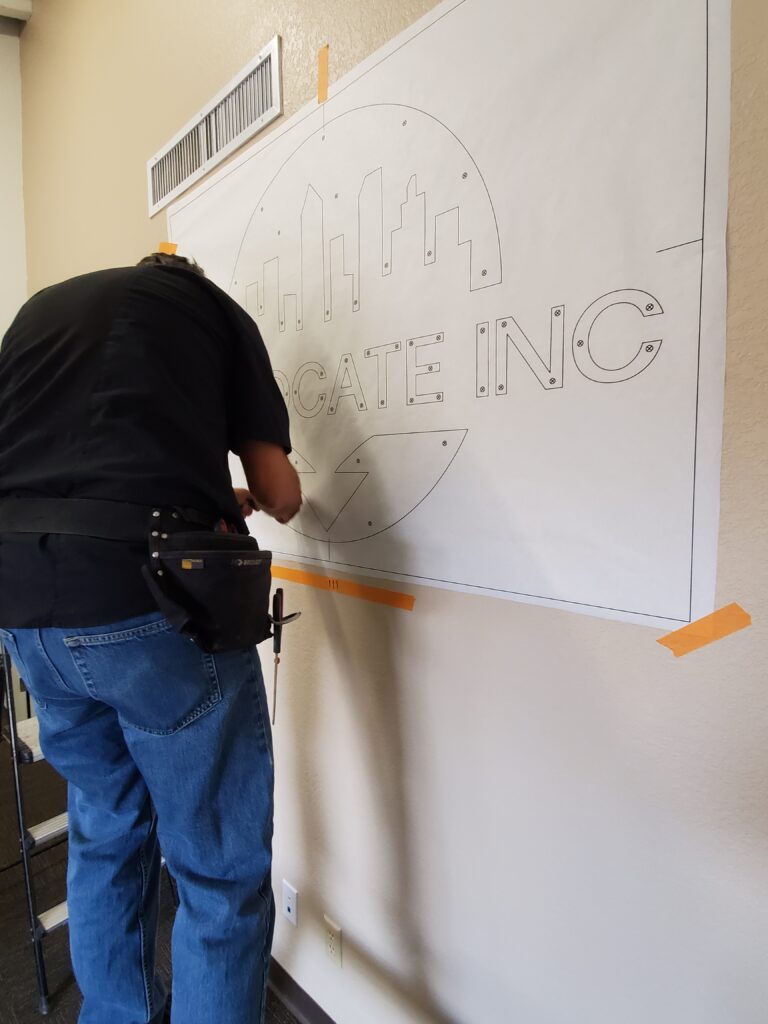
Sign #2 of the week used the same mounting system, but was only one layer of acrylic, so we had to mount the plastic quick snap tubes directly to the wall. In order to ensure the two parts of the snaps were going to line up perfectly, we took our CNC cutting file and generated a paper template that we taped up to the wall. Each mount was marked with an X, which gave us the precise location for drilling each hole. We pre-drilled each hole, then inserted drywall anchors for stability. Each mount was drilled into the wall, then each corresponding shaped was snapped into place.

The sign itself was made out of black acrylic, but you’ll notice that the end result was multi-colored. Rather than CNC routing the logo, then wrapping the fronts to get the proper colors, we wrapped the sheet in vinyl first and made the cuts. This allowed us to get beautifully cut edges on both the vinyl and acrylic in one shot.
We originally used a matte laminate over top to keep the finish from being too shiny, but we weren’t too thrilled with that either. We ended up using a slightly textured floor laminate, keeping the sheen down while providing a unique finish.
We are so excited to continue expanding our knowledge and creativity as we dive more into the CNC world!